Mankai ties access to the client user attached to a session or project. If you skip that link, the rest of the portal will feel broken because the system cannot tell who should see what.
Step 1: Create or Confirm the Client User
Your client needs a WordPress user account. Mankai uses that user relationship for portal visibility, billing views, document access, quote access, and communication matching.
Step 2: Create the Record
In developer mode, create a project. In photographer mode, create a session. Either way, make sure the client user field is set correctly.
Project Fields Worth Filling
- Client user
- Project status
- Payment mode
- Total amount
- Deposit percent and plan months if needed
- Status summary
- Project summary and scope
- Important URLs like intake summary, contract, project URL, or handover credentials
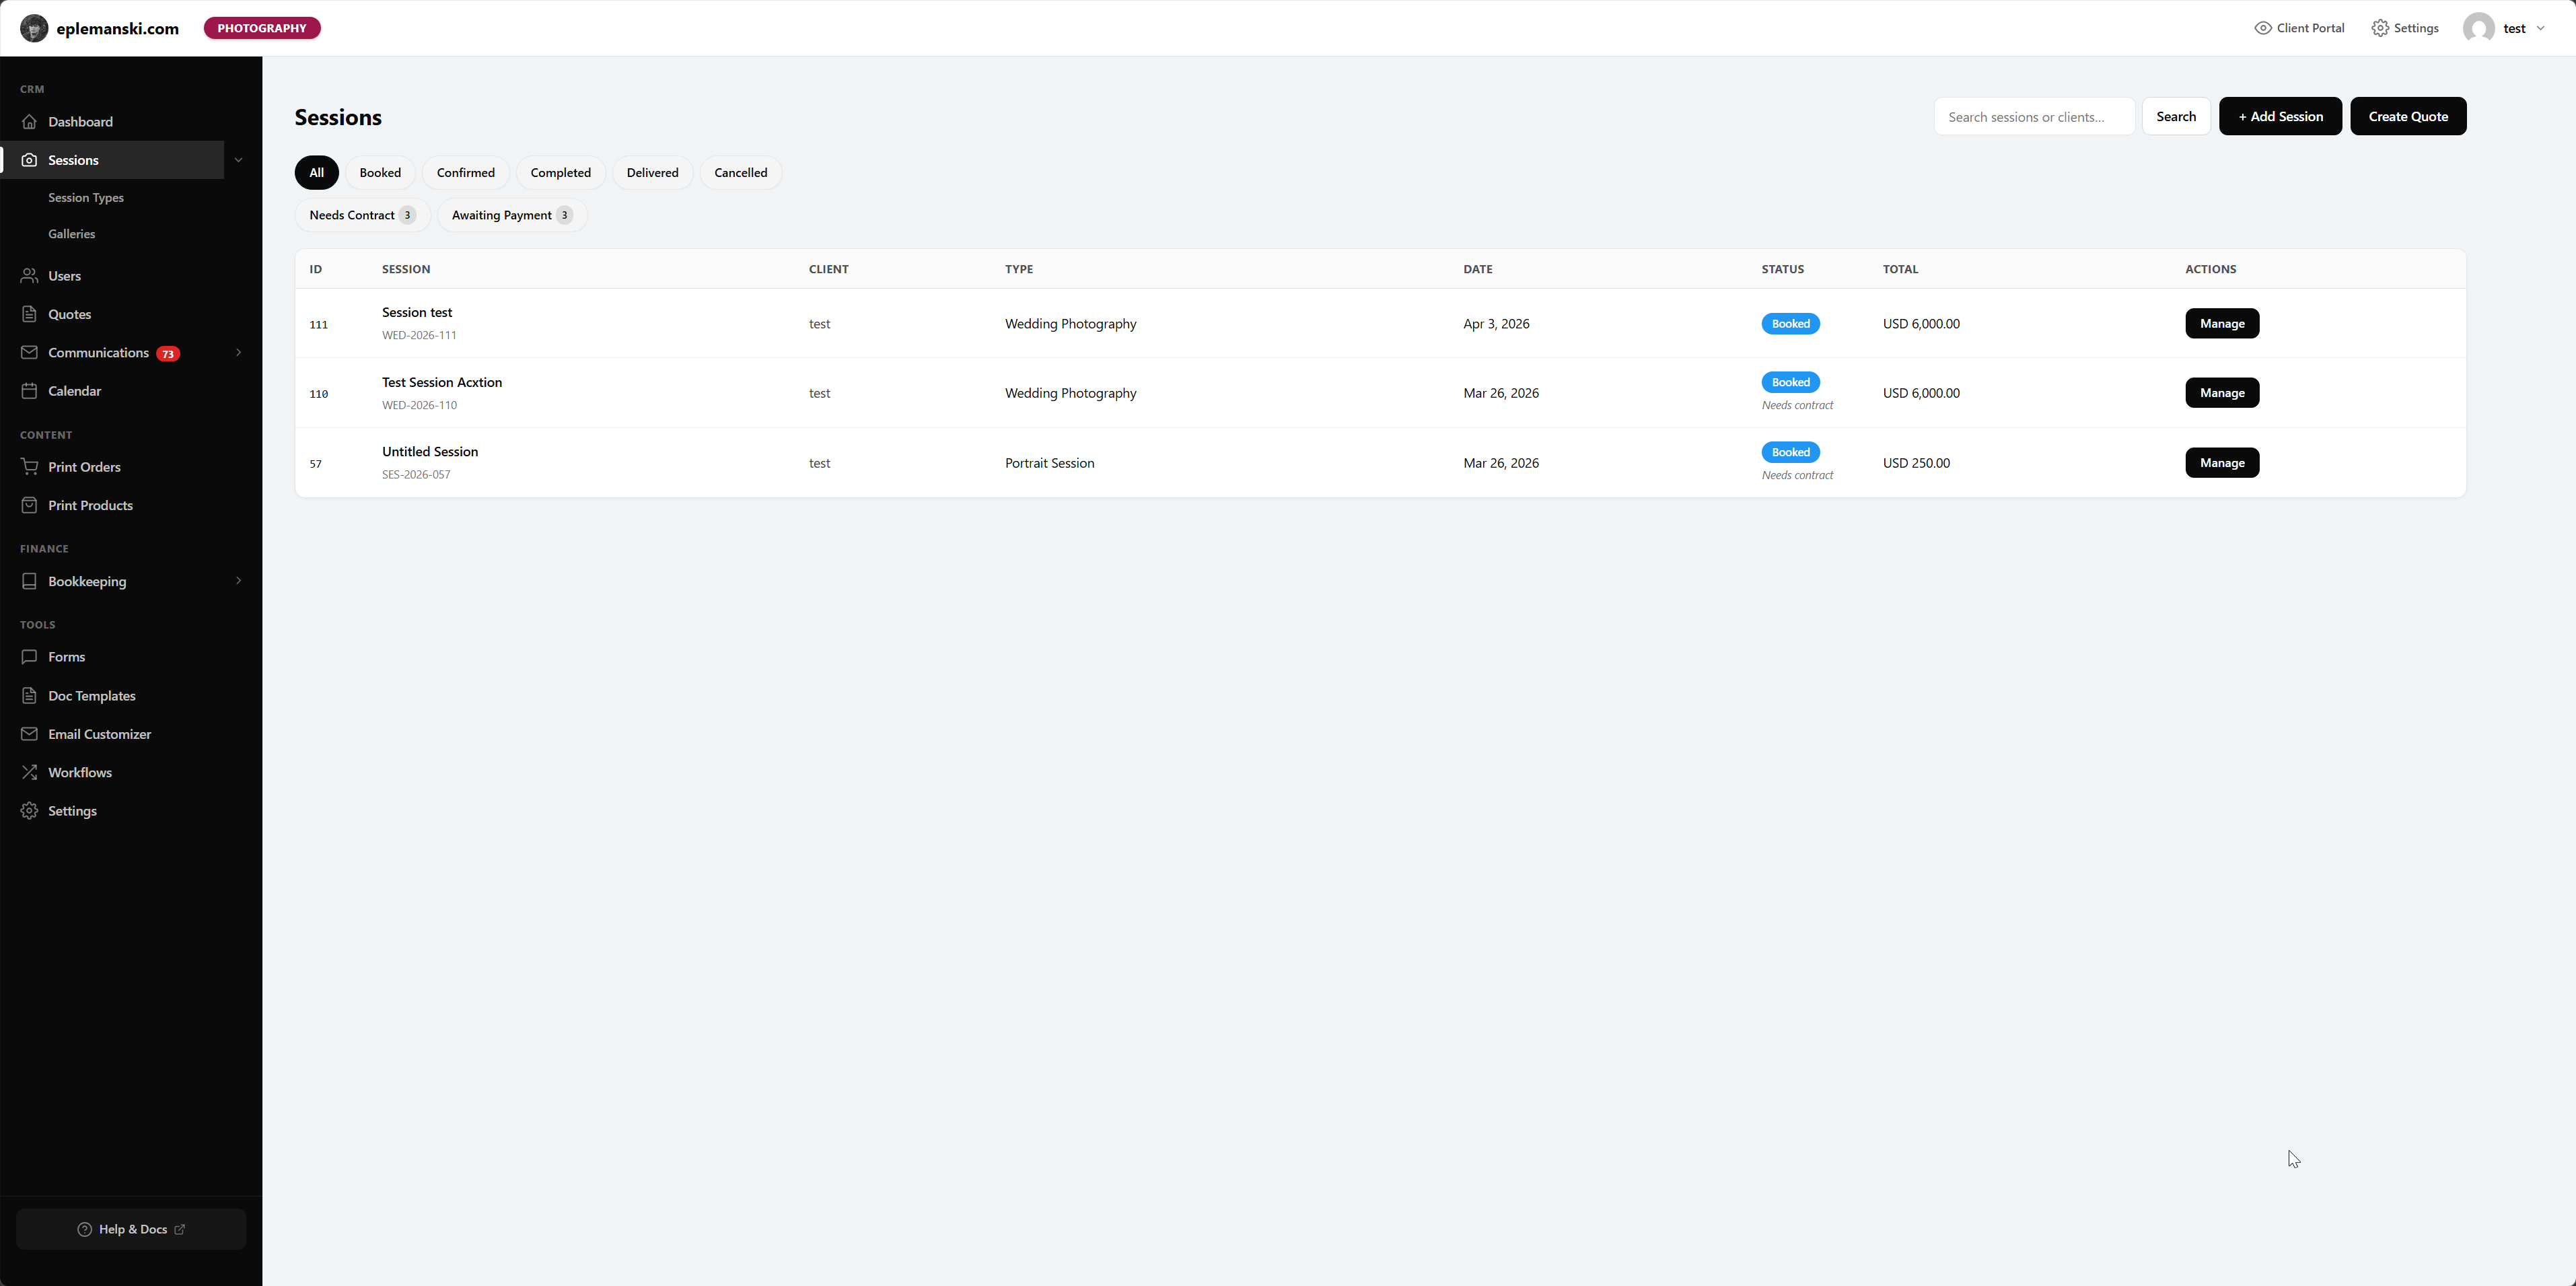
Session Fields Worth Filling
- Client user
- Session type
- Session status
- Date, time, duration, and location
- Total amount and retainer amount
- Questionnaire completed
- Contract signed
- Linked gallery and delivered files
What the Client Sees
As soon as the client is attached to the record, the portal can start showing the correct material to that account. The exact sections depend on your feature toggles and mode.
Tip
If you are migrating from another CRM, create a few clean test records first before importing or bulk entering live work. This helps you validate the right field habits before there is real client pressure.
Try Mankai on your own site
Everything in these docs runs on a $149/yr license. Unlimited clients, your server, your data.
See pricing